Web Dashboard
Deploy your models using the Melange Web Dashboard
This guide explains how to deploy your models using the Melange Web Dashboard at mlange.zetic.ai.
First-time users must use the Web Dashboard to set up their initial repository before using the CLI method.
Sign Up for Free
Access the Melange Dashboard to start accelerating your AI on-device instantly.
- Completely Free to Start: No credit card required.
- One-Click Login: Sign up in seconds using your Google or GitHub account.
- Instant Access: Immediately start creating projects and generating keys.
Create a Repository
Set up a new repository to manage your model versions:
- Click the + button in the top-left corner
- Enter your repository name (this will be part of your model identifier:
username/repository_name) - Add an optional description to document the repository's purpose
- Click Create to finalize
Upload Your Model

Deploy your model to the repository:
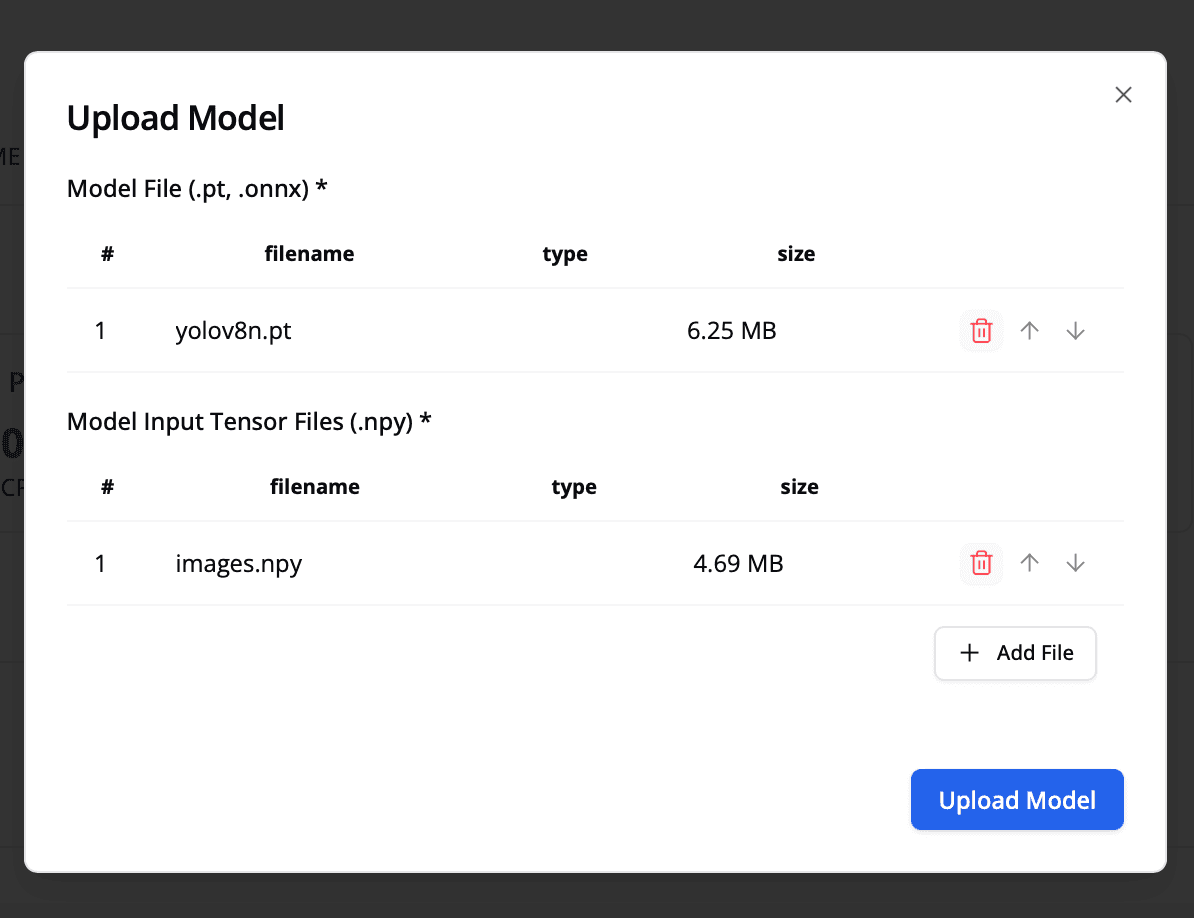
- Click the Upload button in the top-right corner
- Provide the model path (local file or URL)
- Specify the input path(s) for your model
- Click Upload to begin the conversion process
Monitor Deployment Status
Your model will go through several stages:
- Converting → Model is being converted to on-device format
- Optimizing → Available for testing (not production-ready)
- Ready → Fully optimized and production-ready ✓
Input sequence matters
Ensure your inputs are in the correct order. Learn more about input ordering in Prepare Model and Input(s).
Use Your Model
Once your model reaches Ready status, integrate it into your application:
// Android example
val model = ZeticMLangeModel(
    context,
    "PERSONAL_KEY",
    "username/repository_name"
)
// iOS example
let model = ZeticMLangeModel(
personalKey: "personalKey",
name: "username/repository_name"
)